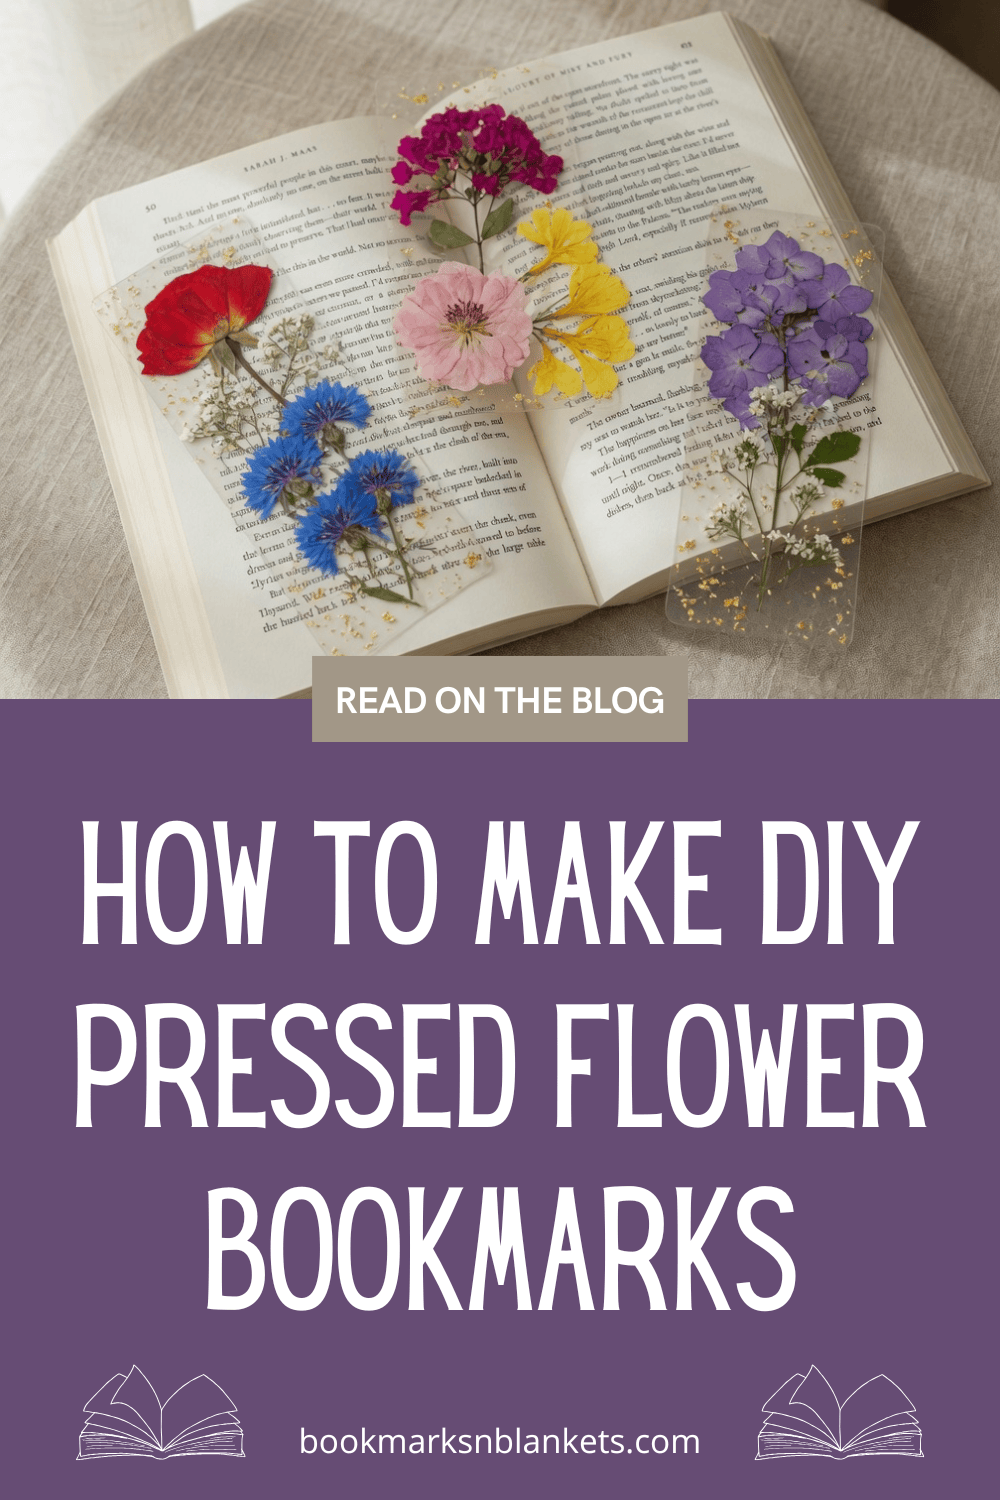


A cozy, creative craft for book lovers.
There’s something extra special about pairing books with a handmade touch, especially when that touch comes from nature.
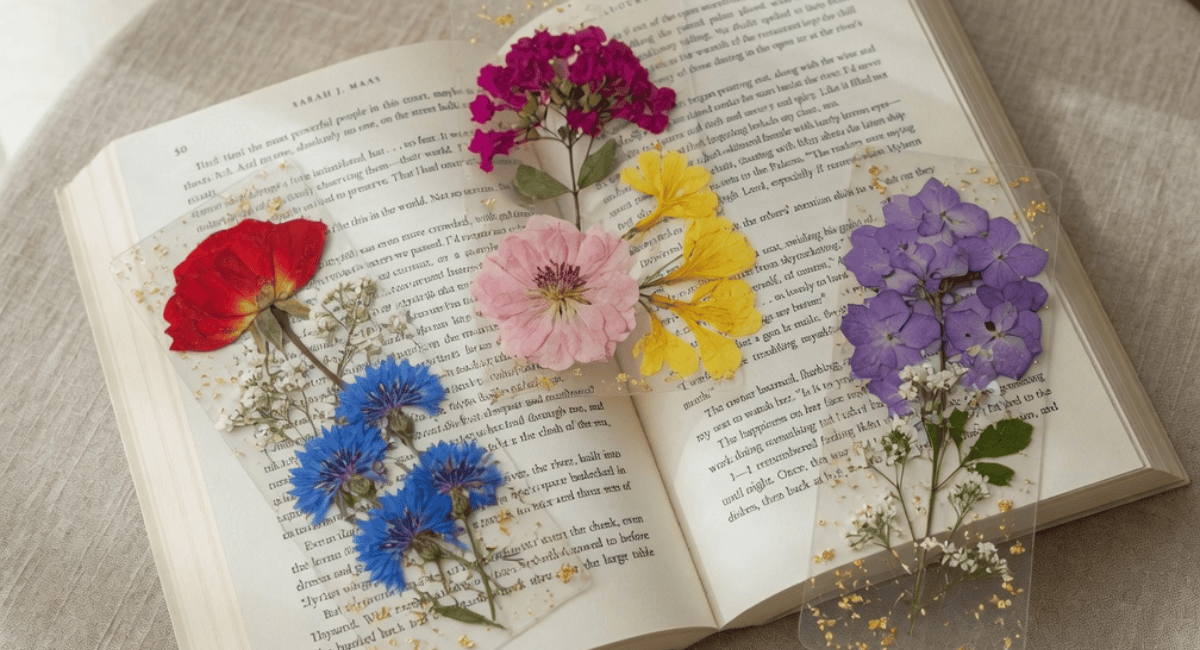
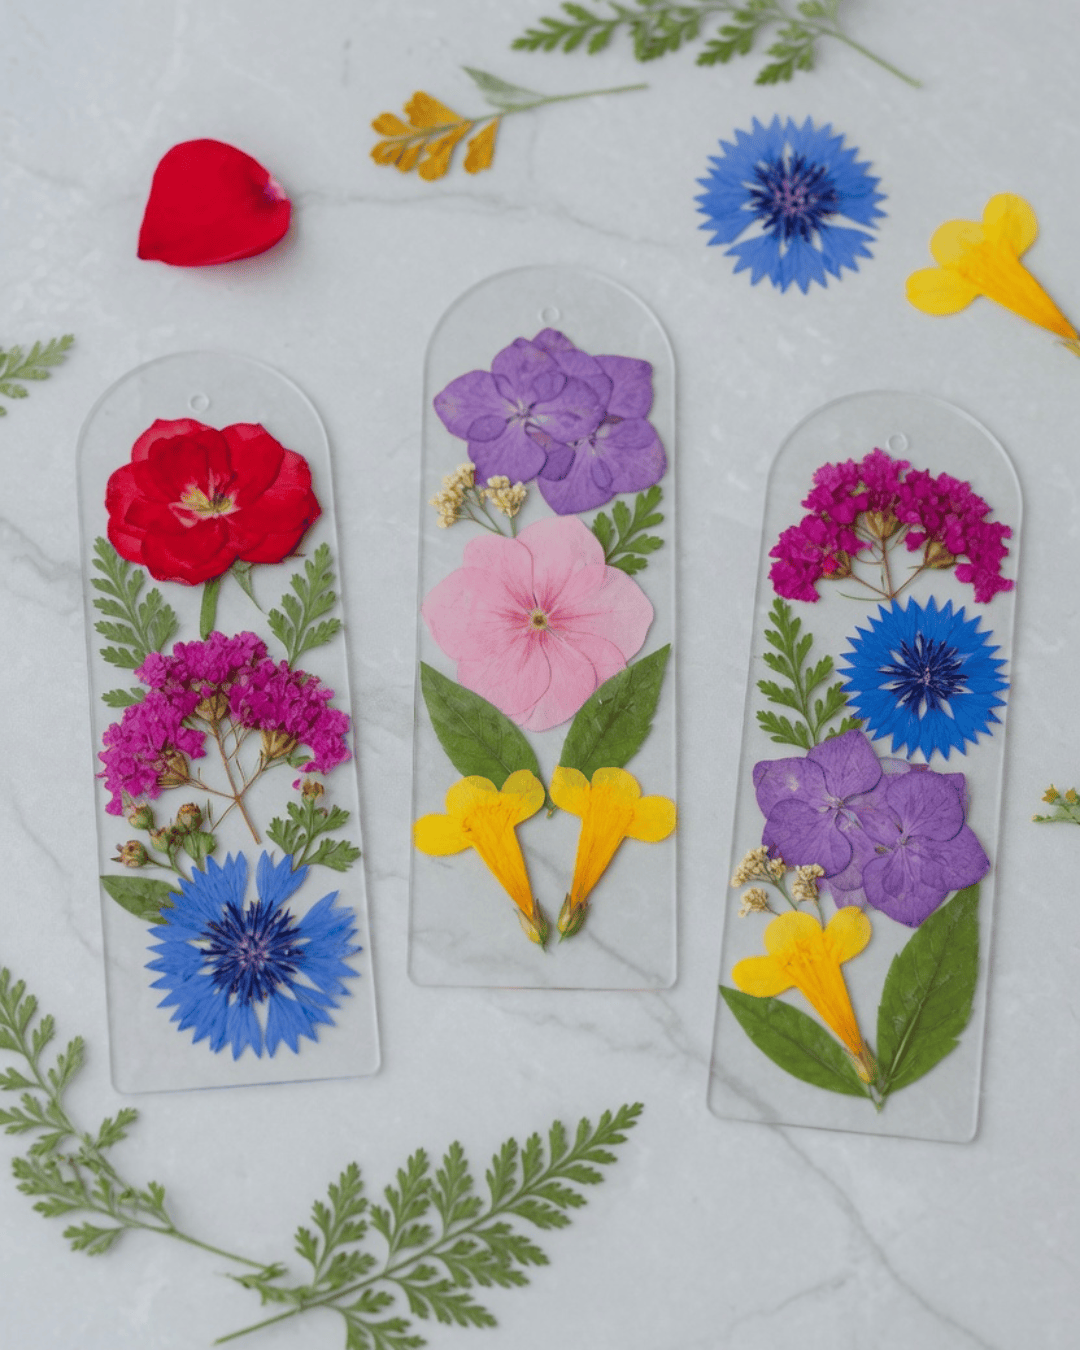
Pressed flower bookmarks are simple to make, beautiful to look at, and they bring a quiet, calming charm to your reading routine. Whether you’re preserving blooms from your garden, a meaningful bouquet, or just a handful of wildflowers, this craft turns them into something you’ll use again and again.
How to Create Your Own Pressed Flower Bookmarks
This is an easy, low-cost project that feels both relaxing and a little magical. No advanced crafting skills required, just a love for books and a bit of patience.
What You’ll Need:
- Fresh flowers or small leaves
- Wax paper or parchment paper
- A heavy book (or flower press)
- Cardstock or thick paper
- Ribbon or twine
- Scissors
- Hole punch
- Optional: clear contact paper or laminating sheets
Step 1: Press Your Flowers
Start by placing your flowers between two sheets of wax paper. Make sure they are spread out and not overlapping. Close the wax paper carefully and tuck it inside a heavy book.
Place additional books or weight on top and leave them for about 1 to 2 weeks. The flowers should feel completely dry and flat when ready.
Tip: Thinner flowers like daisies or small wildflowers press best and keep their color beautifully.

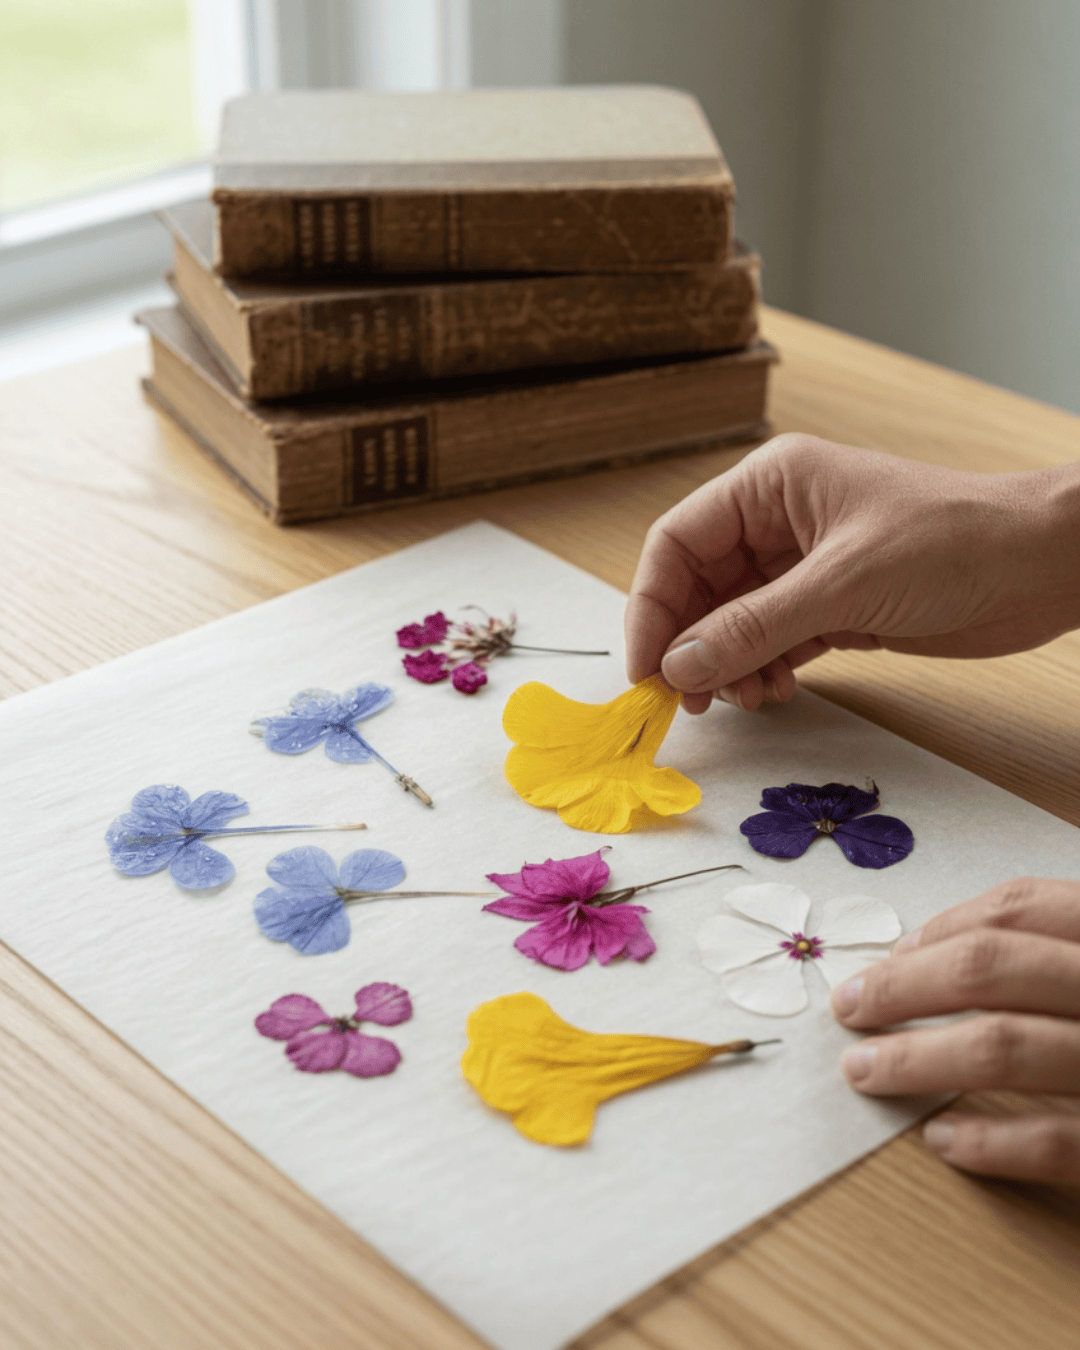
Step 2: Arrange Your Design
Cut your cardstock into a bookmark size, usually about 2 by 6 inches.
Gently place your pressed flowers onto the cardstock. Play around with placement until you find a design you love. You can go for something minimal or fill the entire space with blooms.
Once you’re happy with the arrangement, carefully secure the flowers. If you’re using contact paper, place it over the top to seal everything in place. You can also laminate for extra durability.
Tip: Take your time with this step, it’s where your creativity really comes through. Try a few different layouts before committing:
- Line flowers vertically for a clean, elegant look
- Cluster small blooms in one corner for a soft, romantic style
- Alternate leaves and petals for a more natural, organic feel
- Leave some white space for a minimal, airy design
If you’re unsure, snap a quick photo of each arrangement as you go so you can compare and choose your favorite before sealing it.
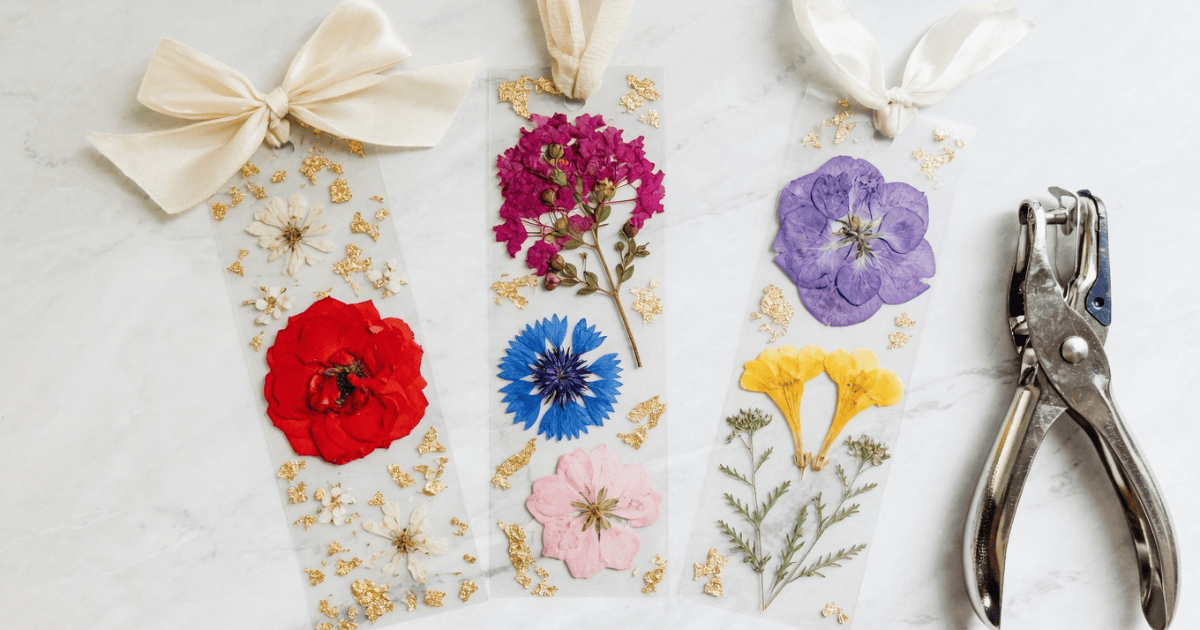
Step 3: Add the Finishing Touch
Use a hole punch at the top of your bookmark. Thread a ribbon or twine through the hole and tie it in a knot or bow.
Choose a ribbon that complements your flowers for a cohesive look. Soft neutrals feel cozy, while brighter colors can make the bookmark pop.
Tips for the Best Results
- Pick flowers that are not too thick or full of moisture
- Press more flowers than you think you’ll need, so you have options
- Keep your bookmarks away from direct sunlight to preserve their color
- Use these as gifts for fellow book lovers or as a sweet addition to a book bundle
Why You’ll Love This Craft
Pressed flower bookmarks are more than just pretty; they capture a moment. Maybe it’s a bloom from your garden, a flower from a special day, or something you picked on a quiet walk. Every time you open your book, you get a little reminder of that.
It’s a simple way to slow down, get creative, and add a handmade touch to your reading life.
Final Thoughts
If you’re looking for a cozy, satisfying craft that pairs perfectly with a quiet afternoon and a good audiobook, this is it. It doesn’t take much time or effort, but the result feels personal and meaningful. Plus, it’s one of those crafts you’ll actually use.
Try making a few in different styles and keep them tucked into your current reads. It’s a small detail that makes reading feel even more special.
Happy Crafting & Reading!